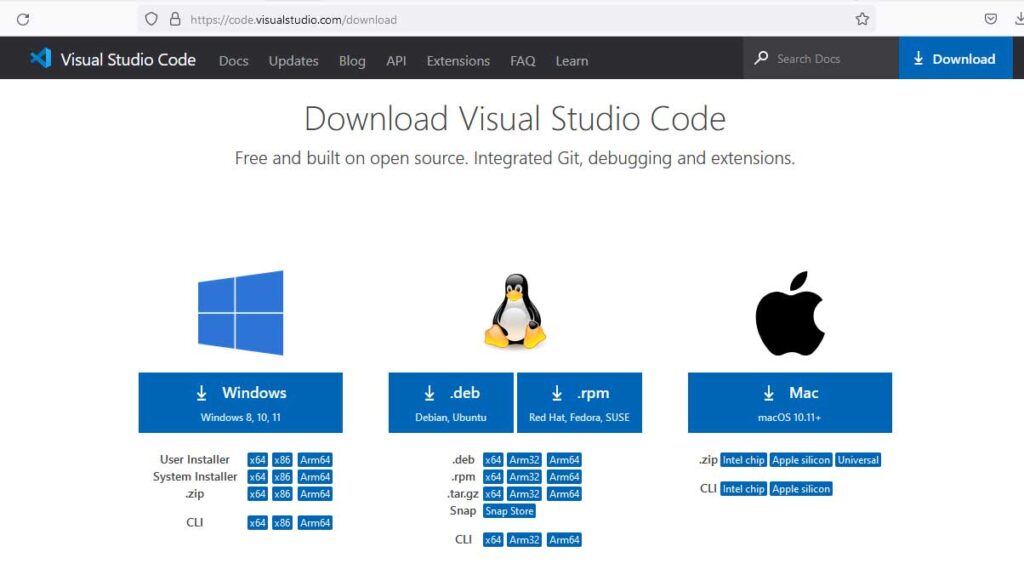
Step 1: Install Visual Studio Code
Download and Install latest version of Visual Studio Code in Windows from url https://code.visualstudio.com/download
Step 2: Install Node.js
Download and Install latest version of Node.js from url https://nodejs.org/en/download

Step 3: Install Angular CLI (Angular command line interface)
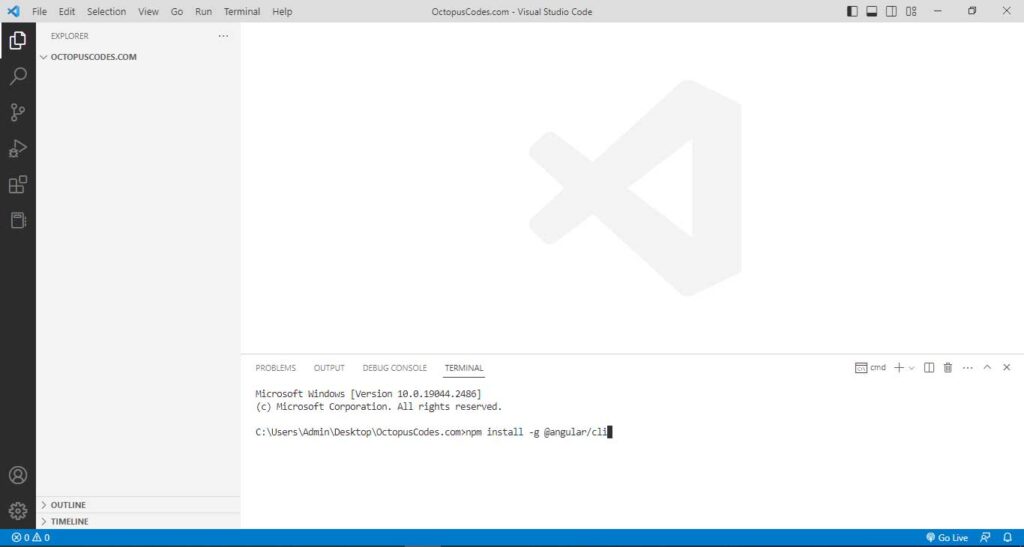
Create a new folder named OctopusCodes.com. In Visual Studio Code, select the folder just created. Press “Ctrl + Shift + P” to open the command palette. Type “profile” in the searcher. Select “Terminal: Select Default Profile“. Select “Command Prompt“

Type the command “npm install -g @angular/cli” on the command prompt and press enter to install Angular CLI
Step 4: Create Angular App with Angular CLI
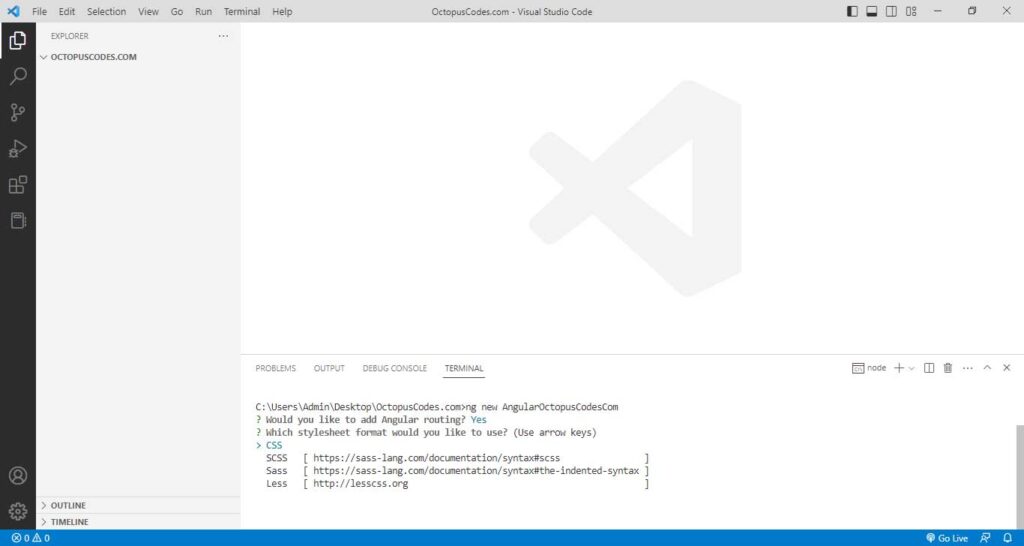
Type the command “ng new AngularOctopusCodesCom” on the command prompt and press enter to create new Angular App. Press “y” to create routing in Angular App.

select “CSS” from the list to generate css file.
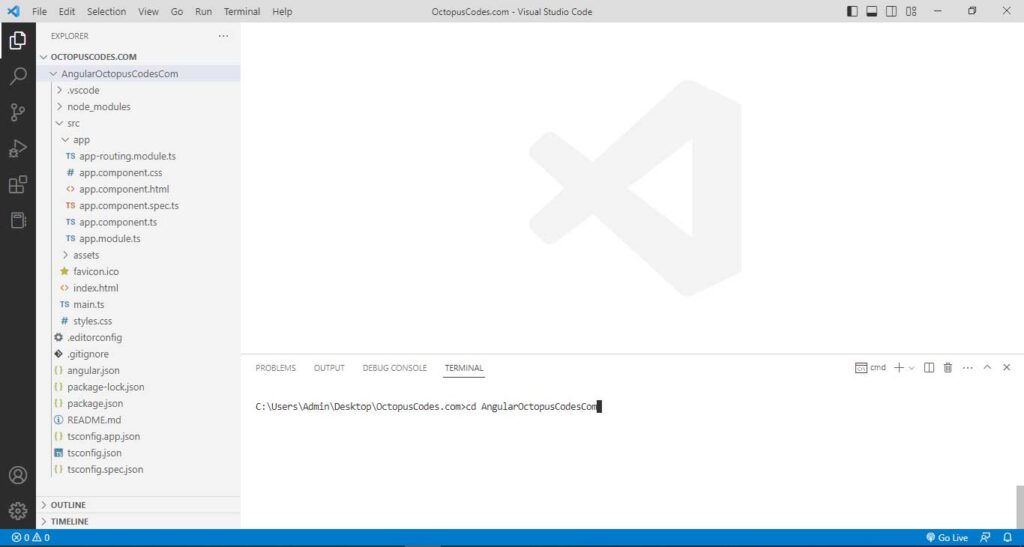
Angular project structure after installation.

Step 5: Run Angular App
Type the command “cd AngularOctopusCodesCom” on the command prompt to select AngularOctopusCodesCom folder
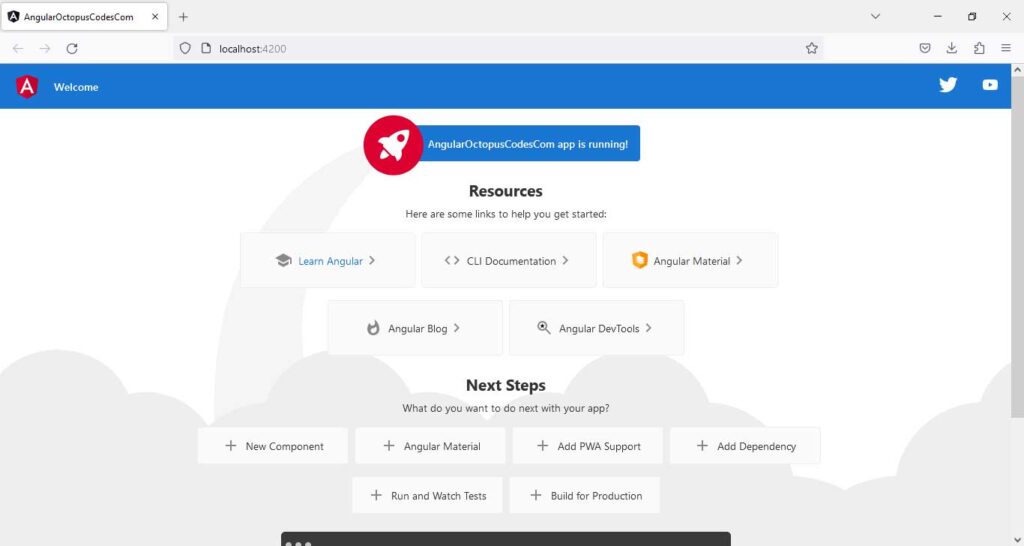
Type the command “ng serve –open” on the command prompt to start the application and automatically launch it in a new browser window.
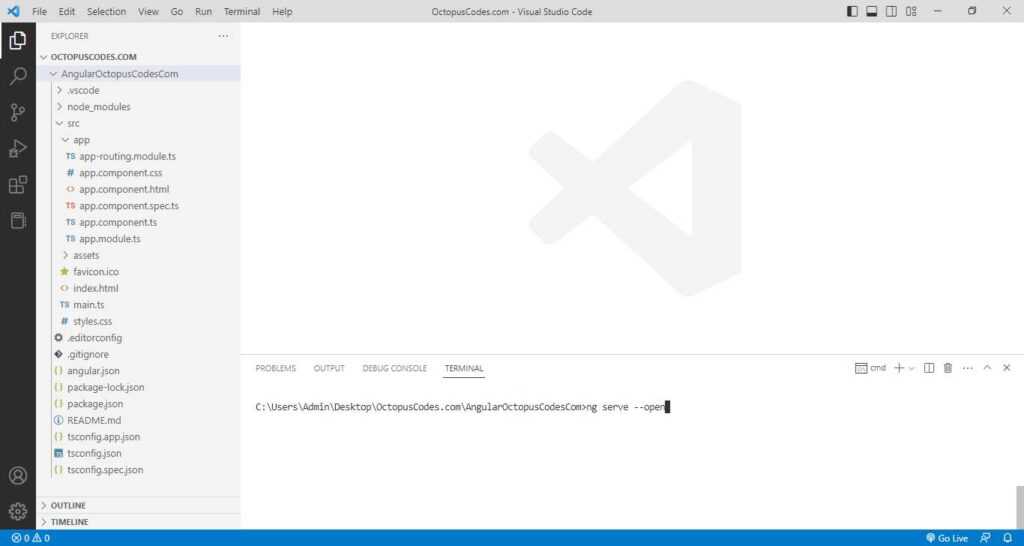
Now, Angualr App is running in browser at url http://localhost:4200